Changing the oil and filter in your vehicle is a fundamental aspect of routine maintenance that pays dividends in the long run. It’s not just about keeping your engine well-lubricated; it’s about ensuring the longevity and optimal performance of your vehicle. In this comprehensive guide on IchieTech, we’ll walk you through the step-by-step process of changing your oil and filter.
1. Gather Your Tools and Materials
Before you dive into the process, make sure you have all the necessary tools and materials at hand. You’ll need an oil filter wrench, an oil drain pan, a socket set, a funnel, a jack and jack stands, an oil filter, and the appropriate amount and type of oil for your vehicle.
2. Find a Safe and Level Spot
Park your vehicle on a flat, level surface. Engage the parking brake and ensure the car is in gear (for manual transmissions) or park (for automatic transmissions). Safety is paramount, so if you’re using a jack, choose a secure and stable jacking point.
3. Warm Up the Engine
While it’s not mandatory, warming up the engine for a few minutes can help the oil flow more easily during the draining process. Just be cautious not to burn yourself when working with hot components.
4. Lift the Vehicle
Use the jack to lift your vehicle off the ground, and secure it with jack stands. This provides the necessary space to access the oil pan and drain plug easily.
5. Locate the Oil Drain Plug
The oil drain plug is typically located on the bottom of the engine’s oil pan. Consult your vehicle’s manual if you’re unsure about its exact location.
6. Drain the Oil
Position the oil drain pan beneath the oil drain plug and use a socket wrench to loosen and remove the plug. Allow the old oil to drain completely. While waiting, take the time to inspect the drain plug for any signs of wear or damage.
7. Remove the Old Oil Filter
Using an oil filter wrench, carefully remove the old oil filter. Be prepared for some additional oil to drain out when you remove the filter. Before installing the new filter, apply a small amount of oil to the rubber gasket on the top of the filter.
8. Install the New Oil Filter
Screw on the new oil filter hand-tight. It’s crucial not to overtighten, as this can lead to leaks. If you’re unsure about the correct level of tightness, consult your filter’s instructions.
9. Replace the Oil Drain Plug
Once the old oil has fully drained, reinstall the oil drain plug. Ensure it’s tightened securely to prevent leaks.
10. Add New Oil
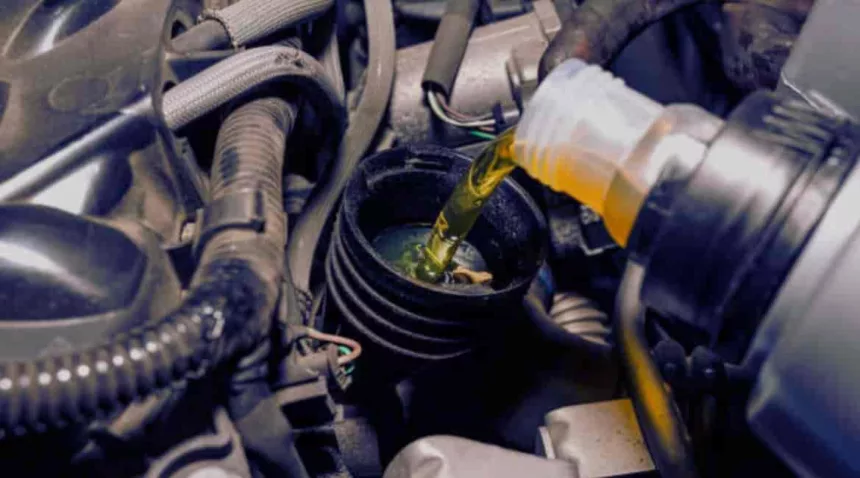
Using a funnel, pour the appropriate amount and type of oil into the engine. Refer to your vehicle’s manual for the recommended oil specifications.
11. Check the Oil Level
Start the engine and let it run for a few minutes. Turn it off, wait a minute, and then check the oil level using the dipstick. Add more oil if necessary.
12. Dispose of Used Oil and Filter
It’s crucial to dispose of used oil and filters responsibly. Many auto parts stores and recycling centres accept used oil for recycling. Never dump used oil in the trash or on the ground.
13. Record the Oil Change
Maintain a record of the date and mileage of your oil change. This record serves as a valuable reference for future maintenance and can contribute to the resale value of your vehicle.
Tips
- It is important to use the correct type of oil for your car. Consult your car’s manual for the recommended type and amount of oil.
- Do not overtighten the oil drain plug or oil filter. This can damage the threads and cause leaks.
- Be careful not to spill oil. Oil can be harmful to the environment.
- If you are not comfortable changing your car’s oil and filter yourself, you can take it to a mechanic.
Conclusion
Changing your oil and filter might seem like a daunting task, but with the right tools and a bit of guidance, it becomes a manageable and rewarding part of vehicle ownership. Regular oil changes contribute to the overall health of your engine, ensuring it runs smoothly for years to come. Make this routine maintenance a habit, and you’ll be rewarded with a vehicle that performs at its best.


