In the world of automotive misfortunes, few things are as frustrating as a dead car battery. It can leave you stranded in the most inconvenient places, but fear not! Learning how to jump start a car is a fundamental skill that can save the day when your vehicle refuses to cooperate. In this article on IchieTech, we’ll guide you through the step-by-step process, ensuring you’re well-prepared to tackle this common emergency that can leave you frustrated, angry or confused about your next line of action.
Tools and Equipment Needed
To properly jump start a car, you’ll require a few necessary tools and equipment. These include a set of jumper cables, a functioning vehicle with a charged battery that is willing to provide assistance or a portable jump starter kit, and a fundamental knowledge of the positive and negative terminals on both car batteries.
Steps on How to Jump Start a Car
1. Prep Both Cars
To jump-start a car, start by locating your jumper cables. Typically, they can be found in the trunk or cargo area of your vehicle. Before proceeding, ensure that the cables are in good condition, without any visible damage or exposed wires. After that, position both cars so that they’re facing each other, with their hoods close enough to comfortably allow the jumper cables to reach between the batteries. Lastly, ensure that both cars are in “park” or “neutral” if it’s a manual transmission.
2. Connect the Jumper Cables
With the preparations complete, it’s time to connect the jumper cables:
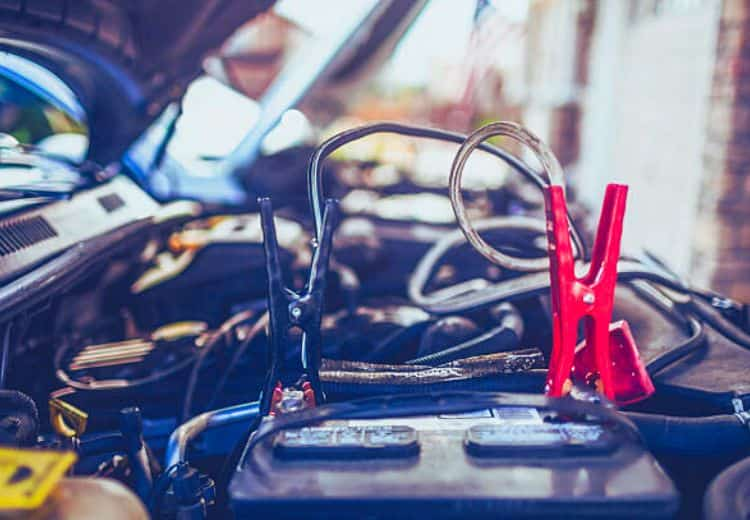
- Start by connecting one end of the red (positive) jumper cable to the positive terminal of the dead battery. Ensure a snug fit to minimize the risk of sparks.
- Connect the other end of the red cable to the positive terminal of the donor vehicle’s battery.
- Now, attach one end of the black (negative) jumper cable to the negative terminal of the donor vehicle’s battery.
- Find an unpainted, metal part of the dead vehicle’s engine block or frame to attach to the other end of the black cable. This step helps prevent sparks near the battery.
Related:
3. Jump Starting the Car
With the cables properly connected, it’s time to breathe life back into your car:
- Start the donor vehicle and let it run for a few minutes. This allows its battery to transfer some charge to the dead battery.
- Wait for a few minutes to allow the dead battery to absorb some charge from the donor vehicle’s battery. This step is crucial for a successful jump start.
- Now, attempt to start the dead vehicle. If it starts up, congratulations! If not, wait a few more minutes and try again.
4. Removing the Jumper Cables
Once the dead vehicle is running, carefully disconnect the jumper cables in the reverse order in which you connected them:
- Remove the black (negative) cable from the previously grounded metal part.
- Detach the black cable from the donor vehicle’s battery.
- Remove the red (positive) cable from the donor vehicle’s battery.
- Finally, remove the red cable from the previously connected positive terminal of the now-running vehicle.
Bonus Tip: Consider investing in a portable jump starter kit. These handy devices allow you to jump start your car without needing another vehicle. They’re a lifesaver in remote locations or when no one else is around to help you.
Conclusion
Learning how to jump start a car is a valuable skill that can come to your rescue when you least expect it. By following the steps outlined in this guide and prioritizing safety, you can confidently handle a dead battery situation and get back on the road without a hitch. So, keep those jumper cables handy and be prepared for the unexpected!


